


'83 Golf - (non)BBS Bodykit - Resto Project - (02/01/22)

Posted
Old Timer

'83 Golf - (non)BBS Bodykit - Resto Project
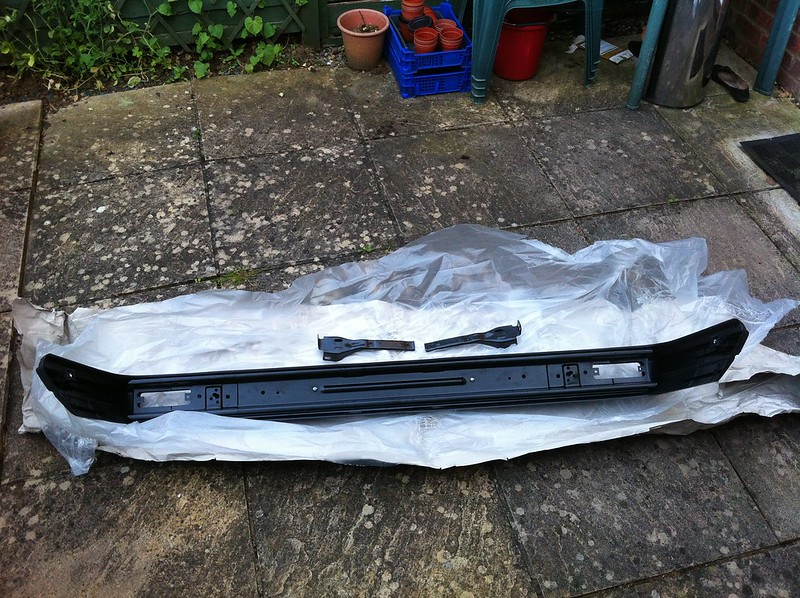
On another note, got this today
 Should clear up a few issues!

Wanted: Front Bumper, DESPERATELY NEED A DRIVERS WING!
MY Build Thread
My Facebook Build Page #Project83
Posted
Old Timer
Pattern Bumper
The brackets are too far apart and both sit bang smack in the middle on the chassis leg instead of flush to the insides. Anyone had any experience with these or know where to get decent pattern bumpers from or do I have to put up with the ropey fitting brackets? Are all pattern bumpers made by the same company (euro Bump) ?
Not sure whether to return the one above, live with it or get a genuine one..


Cheers
Wanted: Front Bumper, DESPERATELY NEED A DRIVERS WING!
MY Build Thread
My Facebook Build Page #Project83
Posted
Moderator

Ever growing range of new mk1 golf parts www.classic-vw.co.uk
Posted

MOTY 2013
Hello my name is John and I'm a dub addict.
My wiring diagrams and other documents have moved here:
VAG Documents & Downloads
You'll need to sign into google/gmail for the link to work! (its free!)
My wiring diagrams and other documents have moved here:
VAG Documents & Downloads
You'll need to sign into google/gmail for the link to work! (its free!)
Posted
Old Timer
I can easily reshape the brackets to fit but could also just as easily return it and get one from VW Heritage, which I've checked and is made by a Danish company called Klokkerholm. I've had a look and people seem happy with the vw heritage ones. It's about £15 more but mIght be worth it in the long run…
Wanted: Front Bumper, DESPERATELY NEED A DRIVERS WING!
MY Build Thread
My Facebook Build Page #Project83

Old Timer
Another new bumper!
Took a punt on the Euro Car Parts version for the same money and glad I did, The plastic parts are pretty much the same, both looked fairly good from the outside, but the metal work on the Euro car parts one is instantly, noticeably better!
With the Euro Bump version, the metal work was attached to the bumper by excess plastic pushed through holes (obviously when hot) and squashed down to hold it all together. So I couldn't separate it if I needed to.
The new one looks pretty much the same as a genuine VW one, solid well formed and painted metal work, held onto the outer skin using proper fittings and screws and the brackets are so much heavier, stronger, and a much better shape. Over all, despite being much lighter than a VW original, it looks quite well made.
Haven't tried fitting it yet tho

Wanted: Front Bumper, DESPERATELY NEED A DRIVERS WING!
MY Build Thread
My Facebook Build Page #Project83
Posted
Settled In

However, where the metal bit screws into the plastic bumber: dont over tighten the screws as it can pull on the bumper leaving little "in-dents" in the plastic! You wont see them unless looking hard but Im a perfectionist. lol.
Old Timer
Front bumper fitter
caddymandean: I am wondering a little about that now, if you look at the pic it looks like that may have happened! I did my best not to over tighten them as I was worried about stripping the thread from the plastic..
I'll have to go back to the garage and have a look!
Wanted: Front Bumper, DESPERATELY NEED A DRIVERS WING!
MY Build Thread
My Facebook Build Page #Project83
Posted
Settled In
 Where did you get the bumpers btw?? If you dont mind me asking
Wanna Hug?
Posted
Old Timer
Wanted: Front Bumper, DESPERATELY NEED A DRIVERS WING!
MY Build Thread
My Facebook Build Page #Project83
Old Timer
Front both Direction indicator insecure (1.4.A.2b)
Front both Front constant velocity joint is insecure (2.5.C.1b)
Front registration plate insecure (6.3.1b)
Front Windscreen wiper does not clear the windscreen effectively (8.2.2)
Front Windscreen wiper not operating automatically when switched on (8.2.1b)
Nearside Rear Tyre not fitted in accordance with side wall instructions (4.1.D.1f)
Offside Front Tyre not fitted in accordance with side wall instructions (4.1.D.1f)
Front Drivers seat insecure (6.2.A.1)
Front passengers seat insecure (6.2.A.1) Got new clips for both seat but they are still not 100% still a little bit of movement from the inside runner
Offside Front main beam Headlamp insecure (1.7.3)
Both Rear brake recording little or no effort (3.7.A.4a)
Front both Headlamp aim too high (1.8 ) need to get the garage to do this
Front side repeaters Direction indicator missing (1.4.A.2b) - either need to find some non cabby wings without the holes, get side repeaters
 or get the holes welded up. For now i'll probably put Duct tape over it so they can't see the hole
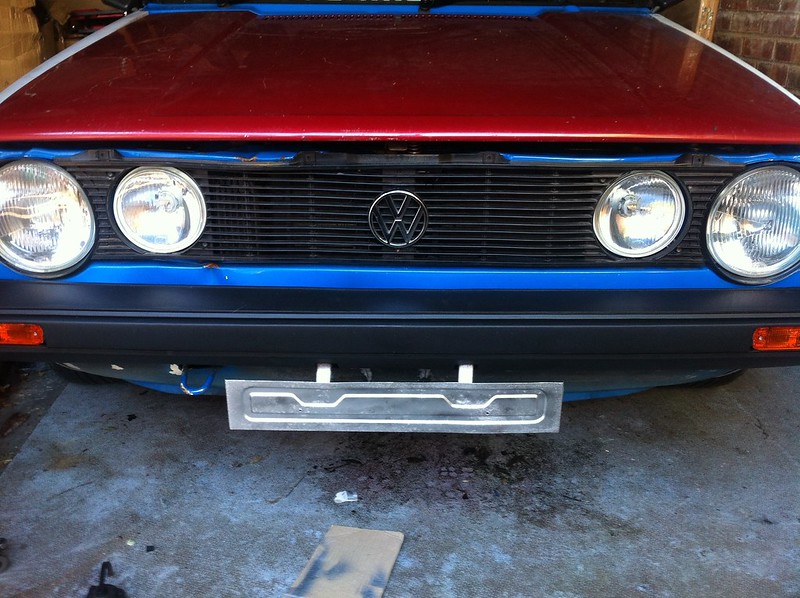
Nearly road Legal, I've clamped the rear brake compensator toward the rear of the car but that doesn't seem to have helped, I've also put WD40 all over the front linkage but not sure this will help as the linkage is almost brand new!! Maybe have to leave it to a garage!

Wanted: Front Bumper, DESPERATELY NEED A DRIVERS WING!
MY Build Thread
My Facebook Build Page #Project83
Old Timer
One step forward 10 steps back!
Here's a bit of info:
- Got a Toad Alarm and immobiliser
To start the car I turn the ignition and then click the button on my key fob to disable the immobiliser, at that point I hear a large buzzing noise (which I guess is the fuel pump) and then the car will turn over
There is a light on the Dashboard that flashes in different sequences depending on the status of the alarm.
[/list:u]
As it stands now:- The LED for the alarm was not showing anything
The ignition works, I can beep the horn, use the wipers, indicators etc etc
When I turn the ignition on I get a few relay clicks, then another when I turn the key fully
Pressing the button on the key fob does NOTHING
I have tried BOTH key fobs
There is no buzz when I turn the ignition, engine doesn't even flinch
The battery is brand new and starts 1st time usually
I have checked EVERY fuse I could find and none are blown
[/list:u]
I had a lose wire last week on the starter motor which stopped the car starting BUT the the fuel pump always kicked in and the alarm worked perfectly. USUALLY if I hold down the key fob for 3 seconds, the alarm will sound. At the moment I have no central locking at all. It's like the car thinks it has no alarm. Yet not enough to allow me to start it!
So….WHAT THE HELL!!!
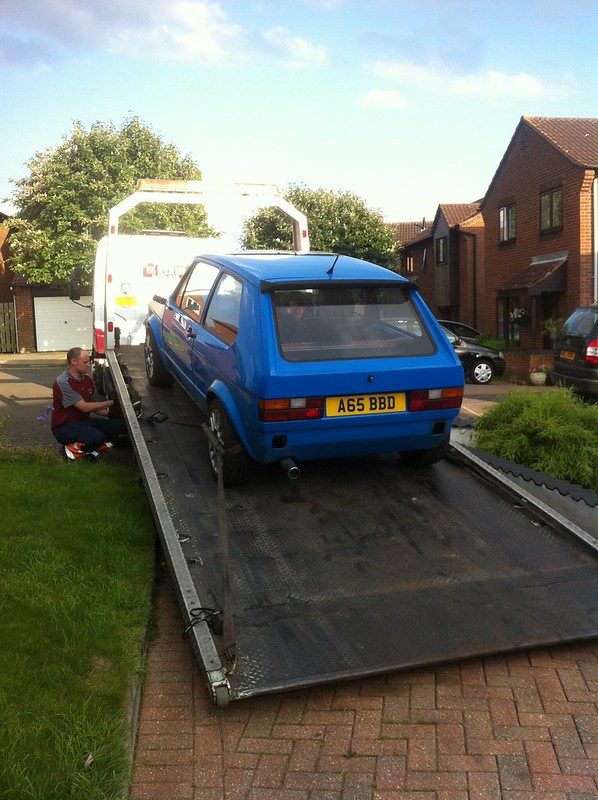
My car is stranded in a car park and theres shite all I can do about it!
Please help, few beers for anyone who can help me
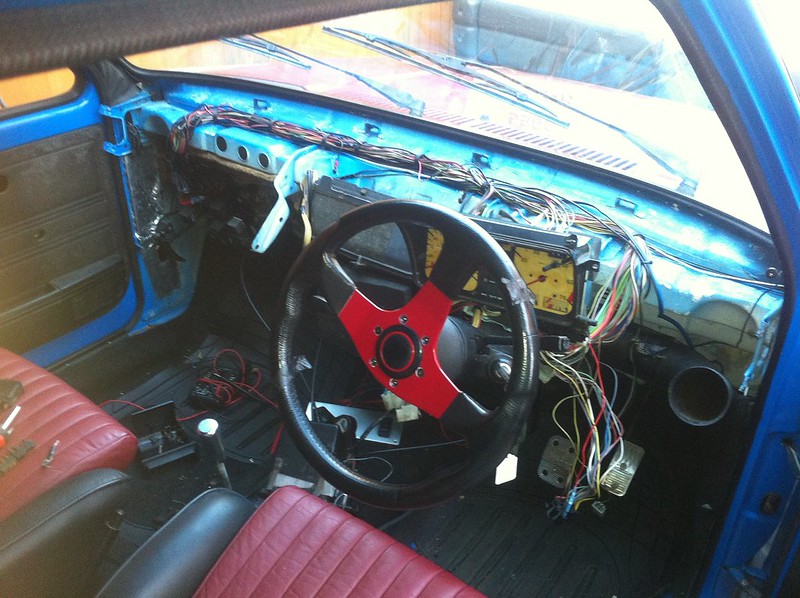
General consensus from TOAD is that the main immobiliser box is shafted and the alarm will need to be removed. With it being a CAT 1 (Toad C5T2) there are no diagrams, all the wires are black and the alarm was fitted when the loom was put in so its gonna be a bugger to remove. Plus I'll then have no alarm!
A few people have said I should be able to bypass the alarm so hopefully i'll be able to figure that out at some point!
dentdoc said
Try and by pass the alarm and get the fuel pump running and it will start. The fuel pump wire is cut in two and the alarm makes the circuit

Poor old girl!
- The LED for the alarm was not showing anything
Wanted: Front Bumper, DESPERATELY NEED A DRIVERS WING!
MY Build Thread
My Facebook Build Page #Project83
Posted
Old Timer
I was just about to start the arduous task of bypassing the alarm and then possibly removing it……and just as I started to move the surround from the dashboard BAM the light for the alarm started blinking… 8O
I slowly went to put the surround back and it stopped again.
So after a bit of pocking around I heard the fuel pump kick in!!! RESULT!!!!
Now all I need to do is spend probably a day or so, making sure all my wiring is good as there is obviously something loose somewhere being the dash which is stopping the immobiliser from working fully/all the time.
Whatever it is though I'm "megga" chuffed! Can get back on track and hopefully save myself a bunch of cash too!
:cheer: :cheer: :cheer: :cheer: :cheer: :cheer: :cheer: :cheer:
Wanted: Front Bumper, DESPERATELY NEED A DRIVERS WING!
MY Build Thread
My Facebook Build Page #Project83
Posted
Old Timer


Old Timer
Got some propper kit for re doing some of the connections, to be honest I was quite happy with the overall appearance of the loom, but thought it best to make sure it was 100%
Some heat shrink (with adhesive) butt connectors.

And 172pc heat shrink kit:

Touch wood the previous wiring gremlin has been eliminated by redoing a few bad connections..
I also took the car in to get the brakes tested before the MOT, wanted to make sure that they were ok before putting it through another full MOT.

And the brakes are ok!! Result!

MOT booked in for Monday!!
Cheers for Lookin!
Wanted: Front Bumper, DESPERATELY NEED A DRIVERS WING!
MY Build Thread
My Facebook Build Page #Project83
Posted
Moderator
Ever growing range of new mk1 golf parts www.classic-vw.co.uk
Posted
Old Timer
http://www.autoelectricsupplies.co.uk/product/936/category/4
I was going to get 25 red butt connectors and 25 blue butt connectors in a pack from ebay for a fiver but decided to go for the full box as 1) I didn't really need 25 of each and b) thought it might be useful to have a few other connector options.
Unfortunatelly being adhesive heat shrink ones, they're on average twice the price of standard connectors of the same type… But so worth it just knowing the joint is solid.
Wanted: Front Bumper, DESPERATELY NEED A DRIVERS WING!
MY Build Thread
My Facebook Build Page #Project83
Posted
Old Timer
Wanted: Front Bumper, DESPERATELY NEED A DRIVERS WING!
MY Build Thread
My Facebook Build Page #Project83
Posted
Moderator
Ever growing range of new mk1 golf parts www.classic-vw.co.uk
Posted
Old Timer
Thanks to rubjonny I found a list of all the pin inputs/outputs so I decided to do a little DIY, as I don't have time to wait for the bulb holder to arrive.
Using my awesome soldering skilz.. And the heat shrink I bought the other week, I managed to put a makeshift light in that connected to the inside terminal and then to the earth pin on the outside of the switch.
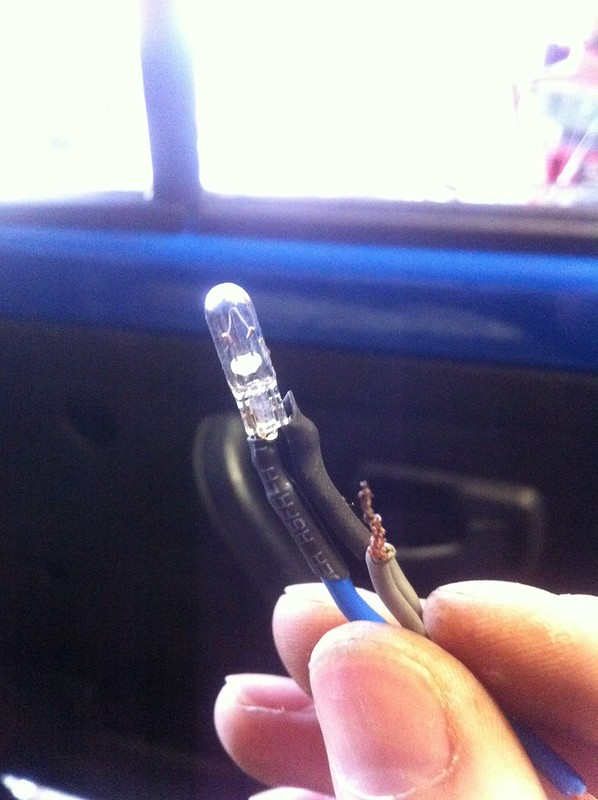
Pow!
Wanted: Front Bumper, DESPERATELY NEED A DRIVERS WING!
MY Build Thread
My Facebook Build Page #Project83
There are too many online users to list.